
Thought I'd post up about a great product that is a quick and easy problem solver...
I was concerned about storing my spare tire up on the roof while wheeling for fear of paint damage, until I found this inexpensive (around $16+shipping) yet effective OEM accessory. Haven't seen anyone post up on it, so I thought I'd share my thoughts on the product.
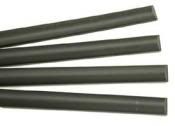
The Product: Nissan Roof Protector Strips found at:
The Application: Four (4) thick rubber strips with adhesive backing designed to run along the raised ribs on the roof, protecting the paint from load scratches and rubs.
Tools Required: Tape measure, Isopropyl or similar cleaner, dry erase/auto marker, 2 beers (or multiples of)
Time Required: 10-15 minutes, depending on how long it takes you to climb onto your roof, use a measuring tape, and peel some backings
The Install: Good instructions are included with the purchase, so to give the Cliffs Notes version...
Remarks: As you're planning this out, take into consideration where the rack crossbars are positioned. The instructions recommend starting 6.5" from the hatch, but I feel this extends under the back crossbar too far unless you are planning to remove it often. As you can see in the picture below, the rear crossbar is all the way back, and the strips extend past that.
Going back and doing it over again, I would have moved the strips farther forward on the roof to cover the area closer to the gearbox. the Good news is that mine have been on for a year and a half and they haven't budged a bit...great adhesive!
Cheers! ccasion5:
![Image]()
(disclaimer: the bungees were a temporary solution until I secured the wheel properly with straps. Remember to practice safe loading and proper securing methods while operating your own vehicle.)
I was concerned about storing my spare tire up on the roof while wheeling for fear of paint damage, until I found this inexpensive (around $16+shipping) yet effective OEM accessory. Haven't seen anyone post up on it, so I thought I'd share my thoughts on the product.
The Product: Nissan Roof Protector Strips found at:
(Jersey is less expensive shipping for me, but if you live out west, thought I'd give you an option )
)The Application: Four (4) thick rubber strips with adhesive backing designed to run along the raised ribs on the roof, protecting the paint from load scratches and rubs.
Tools Required: Tape measure, Isopropyl or similar cleaner, dry erase/auto marker, 2 beers (or multiples of)
Time Required: 10-15 minutes, depending on how long it takes you to climb onto your roof, use a measuring tape, and peel some backings
The Install: Good instructions are included with the purchase, so to give the Cliffs Notes version...
1. Crack a beer and wonder wistfully what it would be like to toss a spare tire, soft sided cargo carrier, or piece of OSB with firewood on it up on your roof without scratching your paint.
2. Read this thread, chuckle happily as that C9 bulb begins to flicker above your dome :idea1:
3. Hop online, order part and wait (insert beers here as needed)
-------
4. Climb up & lay out strips on roof ribs to determine how far forward from the hatch seam (or back from the wetbox) you prefer.
5. Using a dry erase marker, locate and mark the start point of each strip on each roof rib (hint: in btwn the ribs works well)
6. Loosen crossbars if needed. (your Torx wrench is included under the rear seat with your jack)
7. Thoroughly clean each roof rib - similar to prepping for a decal
8. Peel back about 3 inches of adhesive covering and firmly press down the end or the strip, at mark you measured.
9. Slowly peel the backing off, firmly pressing the strip down onto the rib as you go, until the strip is fully adhered to the roof. (Repeat x3)
10. Crack 2nd beer (or multiple of), step back (hopefully you've climbed down before this) and think to yourself what a nice guy that XTour09 is for posting up this life-altering how-to and product review.
2. Read this thread, chuckle happily as that C9 bulb begins to flicker above your dome :idea1:
3. Hop online, order part and wait (insert beers here as needed)
-------
yay, it's here! okay, let's continue
-------4. Climb up & lay out strips on roof ribs to determine how far forward from the hatch seam (or back from the wetbox) you prefer.
5. Using a dry erase marker, locate and mark the start point of each strip on each roof rib (hint: in btwn the ribs works well)
6. Loosen crossbars if needed. (your Torx wrench is included under the rear seat with your jack)
7. Thoroughly clean each roof rib - similar to prepping for a decal
8. Peel back about 3 inches of adhesive covering and firmly press down the end or the strip, at mark you measured.
9. Slowly peel the backing off, firmly pressing the strip down onto the rib as you go, until the strip is fully adhered to the roof. (Repeat x3)
10. Crack 2nd beer (or multiple of), step back (hopefully you've climbed down before this) and think to yourself what a nice guy that XTour09 is for posting up this life-altering how-to and product review.
Remarks: As you're planning this out, take into consideration where the rack crossbars are positioned. The instructions recommend starting 6.5" from the hatch, but I feel this extends under the back crossbar too far unless you are planning to remove it often. As you can see in the picture below, the rear crossbar is all the way back, and the strips extend past that.
Going back and doing it over again, I would have moved the strips farther forward on the roof to cover the area closer to the gearbox. the Good news is that mine have been on for a year and a half and they haven't budged a bit...great adhesive!
Cheers!
ccasion5: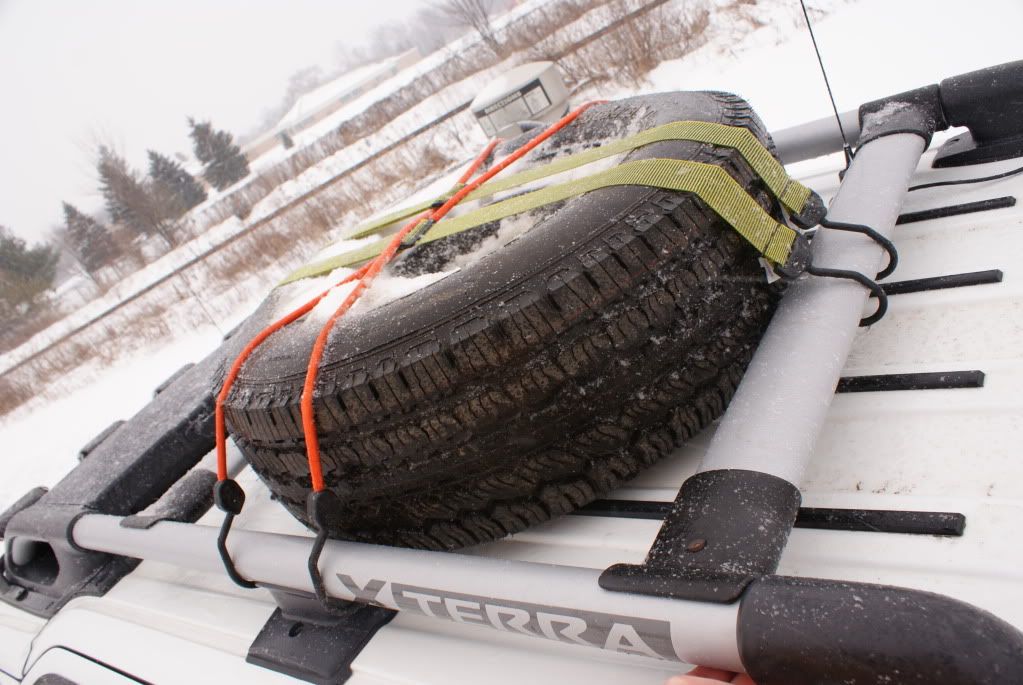
(disclaimer: the bungees were a temporary solution until I secured the wheel properly with straps. Remember to practice safe loading and proper securing methods while operating your own vehicle.)


