
Username: IssacHunter
Xterra Name: Black Betty
Make: Nissan
Year: 2013
Model: Xterra
Trim: PRO-4X
Color: Super Black
Transmission: 5AT
Mileage: January 2016 (My purchase date) - 81k miles
Location: SWVA
Packages: Leather PRO-4X Seats, PRO-4X Carpet Mats/Regular Rubber Mats, Touchscreen Navigation/Bluetooth Phone/Audio
Legend:
[+] = Done
[ ] = In progress/Ordered
[$] = Want
[X] = Removed
------ MODS ------
Suspension:
[+] TS Radflo 2.0 w/ 650springs
[+] Titan m205 3 rib w/ 3.36 gearing.
[+] PRG Titan UCA
[+] OEM TItan LCA
[+] Hitachi Titan Inner/Outer tie rods
[+] Nisstec Camber bolts
[+] Alcan +3" with +550lbs over stock
[+] Bilstein 5100 Rear 2.5-4" Shocks
[+] Timbren Rear Active Offroad bumpstops
[+] Superbump Front bumpstops
[+] PRG Red Shackles
[X] NissTec 2" Spacer/AAL Kit
[X] MK84 Front Coilovers with 650lb red springs
[X] SPC UCA with greaseable ball joints
[X] Moog LCA
[X] OME Dakar HD Leaf Packs
[X] Rear Sway Bar
[X] Front Sway Bar
[$] Nisstec 1" Spacer
Wheels/Tires:
[+] 285/75/R16 Falken Wildpeak AT3W on stock 13' Pro4X Wheels
[+] PEM 1.5" Wheel Spacers
[$] Level8 MK6 Gunmetal wheels
Engine/Exhaust/Drivetrain:
[+] Rear differential breather valve relocate
[+] AEM Dryflow 28-20286
[$] Intake Manifold Spacer
[$] Volant Air Intake
[$] Airflow Snorkel
[] M205 Front Diff with ARB Front Locker. Currently have a new 3Rib 2017 m205
[$] 4.10 Gears
Armor:
[+] Hefty Steel Engine Skid
[+] Hefty Aluminum Transmission Skid
[+] Hardcore Offroad Full Grille Guard front bumper
[+] Stock P4X skids elsewhere
[+] ShrockRocks Sliders with Textured Black Powdercoat
[$] Hefty Aluminum Transfer/Gas Skids
[+] Hardcore Offroad Steel Radiator skid
[+] maXTERRA Rear Tire Carrier with Jerry can holder with added FrontRunner Drop Down Table
[+] Nisstec Rear Shock Skids - Red
[+] Offroad Gorilla m226 Diff Skid
Exterior:
[X] Remove OEM Mudflaps
[+] Painted all plastics black for stealth look
[+] Front Window Tint 50%
[+] Por15'ed the entire underbody for rust protection
[+] Locking roof gear box - Southco 92-21-511 T-handle
[X] Auxbeam X-series 22" Lightbar
[+] KCHilites 6" Black Daylighters LED 40w
[+] MaxTerra projector rear backup light bulbs
[+] Diode Dynamics LUXEON LED Fog Lamps w/ yellow Lamin-X film
[+] Low Profile Roof rack crossbars aka Unistrut mod holding my FSR M49 RTT
[+] Trico ExactFit 16B rear wiper mod with stronger spring.
Interior:
[+] Raingler Large Ceiling net holding sleeping bag, blanket, clothes, poncho etc.
[+] ZheKing interior LED light kit
Recovery/Comms:
[+] VIAIR 300p Portable Compressor
[+] 20' 15,000lb Tow Strap
[+] 8' TGL Tree Saver
[+] 2x TGL Axle Straps
[+] TGL Snatchblock 24k lb
[+] 2x Vault Shackles
[+] Baofeng UV-82 Radio
[+] Cobra ACXT1035 GMRS/FRS
[+] ICOM 5021 HAM radio with Tram Antenna
[+] Midland 822 CB mounted with MPS mount w/ 3' Firestik II antennae mounted on Diamond K400 Hatch mount
[+] 3ton All-in-jack
[+] USGI E-Tool
[+] Gerber Combo Axe/Saw
[+] Fiskars Chopping Axe mounted on roof rack
[+] Bond short shovel mounted on roof rack
[+] Silky GomBoy saw
[+] TRED 1100's
[+] Ipad navigation 67designs setup using center bin
[+] Smittybilt X20 10,000 synthetic winch
Other:
[+] 8Gal Action Packer loaded with SocketSet/JBWeld/Fluids/ etc.
[+] 8Gal Action Packer with various camping supplies including sleeping supplies, energy bars, fixed blade, cooking set, water purification, fire starting etc.
[+] Soft Cooler loaded with water
[+] Tool Roll loaded with various tools
[+] Various First Aid and Trauma kits for different levels of injury.
[+] BoulderTools Auto-tire deflaters
[+] BoulderTools Deluxe Tire Repair kit
[+] eBay red engine struts
[+] Advance Auto Platinum AGM 24F
[+] ARB 50qt Fridge
[+] Noco 4amp on board battery charger
[+] Freespirit Recreation M49 RTT
------ PHOTOS ------
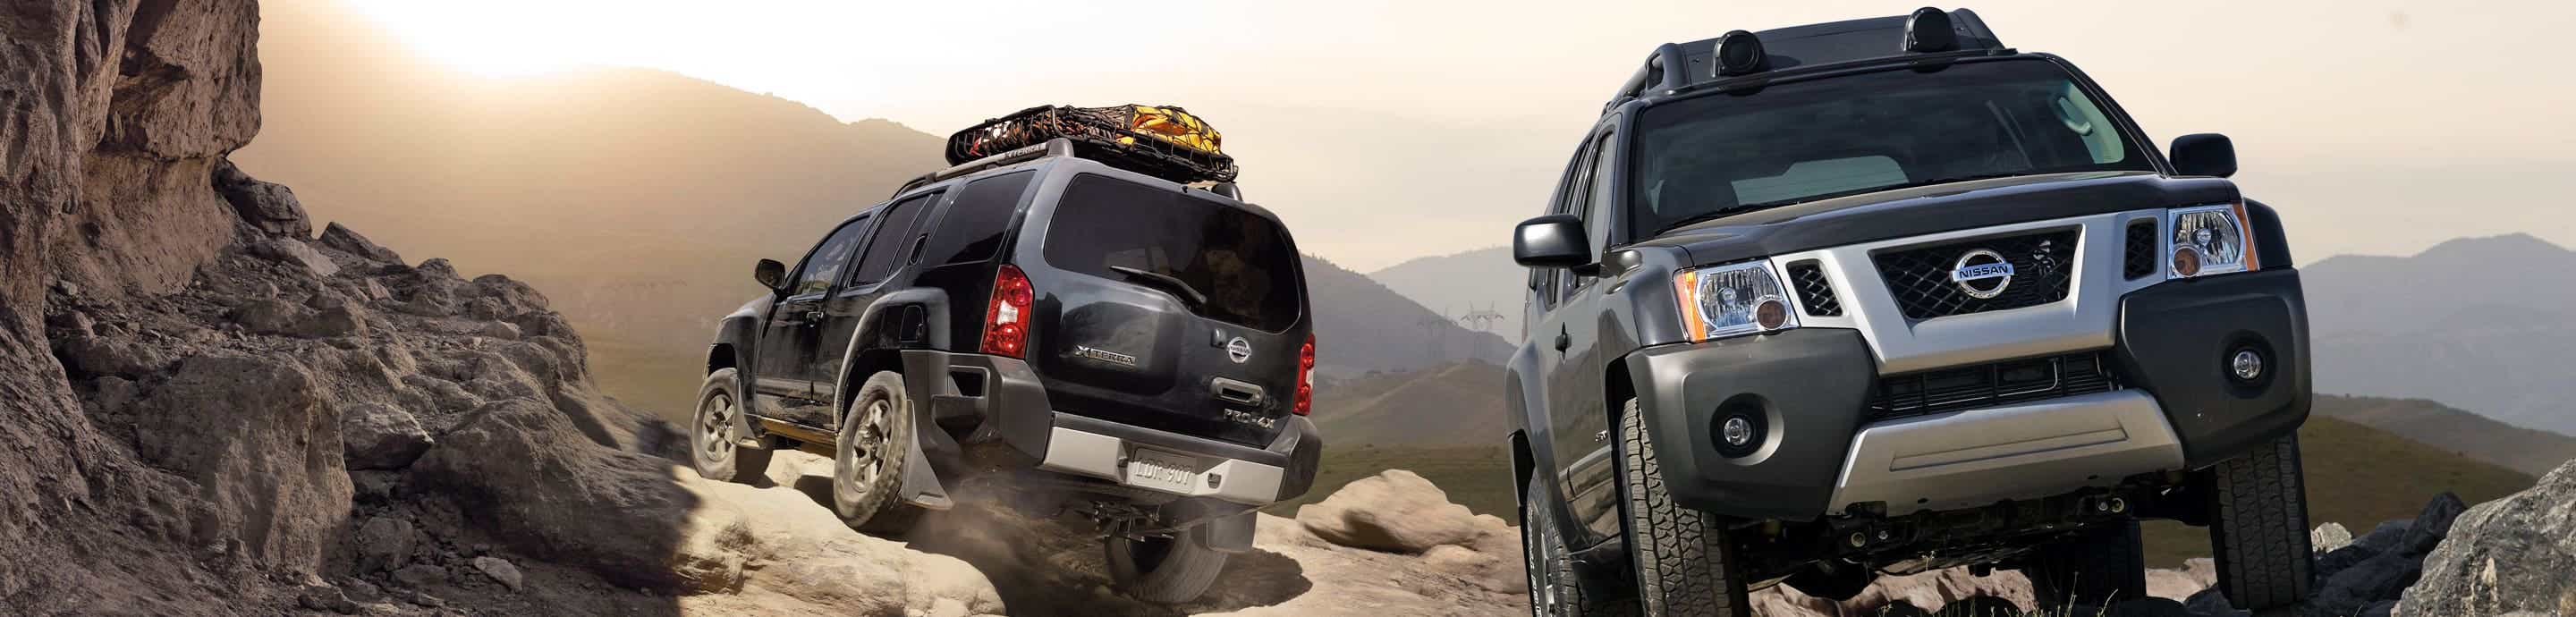
Stock:
![Image]()
![Image]()
![Image]()
As She Sits Now:
![Image]()
![Image]()
![Image]()
![Image]()
Xterra Name: Black Betty
Make: Nissan
Year: 2013
Model: Xterra
Trim: PRO-4X
Color: Super Black
Transmission: 5AT
Mileage: January 2016 (My purchase date) - 81k miles
Location: SWVA
Packages: Leather PRO-4X Seats, PRO-4X Carpet Mats/Regular Rubber Mats, Touchscreen Navigation/Bluetooth Phone/Audio
Legend:
[+] = Done
[
] = In progress/Ordered[$] = Want
[X] = Removed
------ MODS ------
Suspension:
[+] TS Radflo 2.0 w/ 650springs
[+] Titan m205 3 rib w/ 3.36 gearing.
[+] PRG Titan UCA
[+] OEM TItan LCA
[+] Hitachi Titan Inner/Outer tie rods
[+] Nisstec Camber bolts
[+] Alcan +3" with +550lbs over stock
[+] Bilstein 5100 Rear 2.5-4" Shocks
[+] Timbren Rear Active Offroad bumpstops
[+] Superbump Front bumpstops
[+] PRG Red Shackles
[X] NissTec 2" Spacer/AAL Kit
[X] MK84 Front Coilovers with 650lb red springs
[X] SPC UCA with greaseable ball joints
[X] Moog LCA
[X] OME Dakar HD Leaf Packs
[X] Rear Sway Bar
[X] Front Sway Bar
[$] Nisstec 1" Spacer
Wheels/Tires:
[+] 285/75/R16 Falken Wildpeak AT3W on stock 13' Pro4X Wheels
[+] PEM 1.5" Wheel Spacers
[$] Level8 MK6 Gunmetal wheels
Engine/Exhaust/Drivetrain:
[+] Rear differential breather valve relocate
[+] AEM Dryflow 28-20286
[$] Intake Manifold Spacer
[$] Volant Air Intake
[$] Airflow Snorkel
[
] M205 Front Diff with ARB Front Locker. Currently have a new 3Rib 2017 m205[$] 4.10 Gears
Armor:
[+] Hefty Steel Engine Skid
[+] Hefty Aluminum Transmission Skid
[+] Hardcore Offroad Full Grille Guard front bumper
[+] Stock P4X skids elsewhere
[+] ShrockRocks Sliders with Textured Black Powdercoat
[$] Hefty Aluminum Transfer/Gas Skids
[+] Hardcore Offroad Steel Radiator skid
[+] maXTERRA Rear Tire Carrier with Jerry can holder with added FrontRunner Drop Down Table
[+] Nisstec Rear Shock Skids - Red
[+] Offroad Gorilla m226 Diff Skid
Exterior:
[X] Remove OEM Mudflaps
[+] Painted all plastics black for stealth look
[+] Front Window Tint 50%
[+] Por15'ed the entire underbody for rust protection
[+] Locking roof gear box - Southco 92-21-511 T-handle
[X] Auxbeam X-series 22" Lightbar
[+] KCHilites 6" Black Daylighters LED 40w
[+] MaxTerra projector rear backup light bulbs
[+] Diode Dynamics LUXEON LED Fog Lamps w/ yellow Lamin-X film
[+] Low Profile Roof rack crossbars aka Unistrut mod holding my FSR M49 RTT
[+] Trico ExactFit 16B rear wiper mod with stronger spring.
Interior:
[+] Raingler Large Ceiling net holding sleeping bag, blanket, clothes, poncho etc.
[+] ZheKing interior LED light kit
Recovery/Comms:
[+] VIAIR 300p Portable Compressor
[+] 20' 15,000lb Tow Strap
[+] 8' TGL Tree Saver
[+] 2x TGL Axle Straps
[+] TGL Snatchblock 24k lb
[+] 2x Vault Shackles
[+] Baofeng UV-82 Radio
[+] Cobra ACXT1035 GMRS/FRS
[+] ICOM 5021 HAM radio with Tram Antenna
[+] Midland 822 CB mounted with MPS mount w/ 3' Firestik II antennae mounted on Diamond K400 Hatch mount
[+] 3ton All-in-jack
[+] USGI E-Tool
[+] Gerber Combo Axe/Saw
[+] Fiskars Chopping Axe mounted on roof rack
[+] Bond short shovel mounted on roof rack
[+] Silky GomBoy saw
[+] TRED 1100's
[+] Ipad navigation 67designs setup using center bin
[+] Smittybilt X20 10,000 synthetic winch
Other:
[+] 8Gal Action Packer loaded with SocketSet/JBWeld/Fluids/ etc.
[+] 8Gal Action Packer with various camping supplies including sleeping supplies, energy bars, fixed blade, cooking set, water purification, fire starting etc.
[+] Soft Cooler loaded with water
[+] Tool Roll loaded with various tools
[+] Various First Aid and Trauma kits for different levels of injury.
[+] BoulderTools Auto-tire deflaters
[+] BoulderTools Deluxe Tire Repair kit
[+] eBay red engine struts
[+] Advance Auto Platinum AGM 24F
[+] ARB 50qt Fridge
[+] Noco 4amp on board battery charger
[+] Freespirit Recreation M49 RTT
------ PHOTOS ------
Stock:


As She Sits Now:


