
Intro Comments: I have a lot to add and organize here but wanted to just start my thread with a short first post that I will of course edit and add to as I get the time.
Purchased in January of 2022 in Seattle Washington. At first, I just wanted an SUV big enough to sleep in that could get by on some dirt roads, but that idea has quickly spiraled into building out a more serious offroad rig.
Make: Nissan
Year: 2011
Model: Xterra
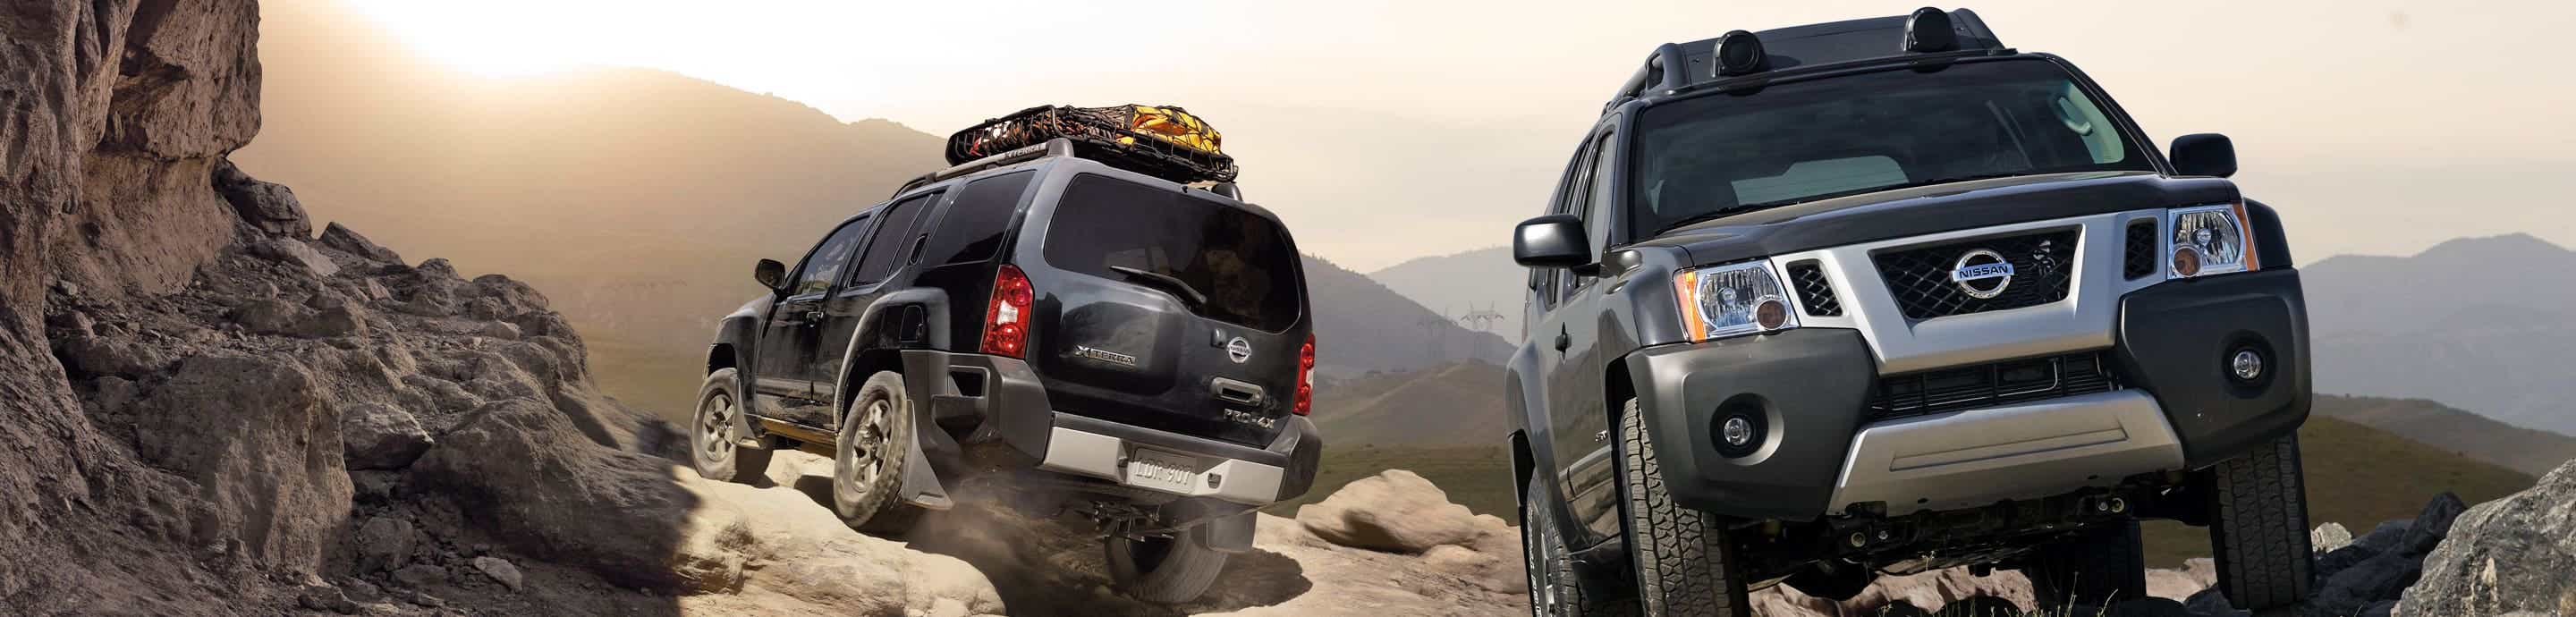
Trim: PRO-4X
Color: Night Armor
MODS:
Removed OEM rear mudflaps
Swaybar delete
Dual Battery under hood
ARB single onboard air compressor
Armor
White Knuckle Rock sliders (DOM) with rear top plate
Custom steel rear bumper with tire carrier
Hardcore Offroad front bumper
Drivetrain:
Rear differential breather
ARB M226 diff cover
M205 front diff
OEM Titan CVs
Suspension:
Front and rear stainless steel brake lines
Front Coilovers: NissTec MKII 2.5" body, 650 spring rate
Titan SPC upper control arms
Front SPC adjustable camber bolts
Titan lower control arms
Titan inner and outer tie rods
Rear Leaf: Alcan 4" pack, 500lbs over stock
Rear Shock: NissTec MKII 2" body 4-5" Lift
Rear extended poly bump stops
Rear extended adjustable shackles
1" body lift
Wheels Tires:
Tires: 285/75/16 Mickey Thompson Baja Boss A/T
Full size spare with OEM Pro 4X rim
Rear Bora 2" spacers
Electrical:
Aux Battery: Odyssey ODP-AGM35
Onboard aux battery charger: Redarc BCDC1225D
5 switch lower center trim bezel swap from Frontier
PHOTOS:
Picture from the previous owner:
![Image]()
![Image]()
7/15/22
![Image]()
8/20/22
![Image]()
4/1/23
![Image]()
Purchased in January of 2022 in Seattle Washington. At first, I just wanted an SUV big enough to sleep in that could get by on some dirt roads, but that idea has quickly spiraled into building out a more serious offroad rig.
Make: Nissan
Year: 2011
Model: Xterra
Trim: PRO-4X
Color: Night Armor
MODS:
Removed OEM rear mudflaps
Swaybar delete
Dual Battery under hood
ARB single onboard air compressor
Armor
White Knuckle Rock sliders (DOM) with rear top plate
Custom steel rear bumper with tire carrier
Hardcore Offroad front bumper
Drivetrain:
Rear differential breather
ARB M226 diff cover
M205 front diff
OEM Titan CVs
Suspension:
Front and rear stainless steel brake lines
Front Coilovers: NissTec MKII 2.5" body, 650 spring rate
Titan SPC upper control arms
Front SPC adjustable camber bolts
Titan lower control arms
Titan inner and outer tie rods
Rear Leaf: Alcan 4" pack, 500lbs over stock
Rear Shock: NissTec MKII 2" body 4-5" Lift
Rear extended poly bump stops
Rear extended adjustable shackles
1" body lift
Wheels Tires:
Tires: 285/75/16 Mickey Thompson Baja Boss A/T
Full size spare with OEM Pro 4X rim
Rear Bora 2" spacers
Electrical:
Aux Battery: Odyssey ODP-AGM35
Onboard aux battery charger: Redarc BCDC1225D
5 switch lower center trim bezel swap from Frontier
PHOTOS:
Picture from the previous owner:
7/15/22
8/20/22
4/1/23


